Raising Crickets
by Jeff Mucha
Raising Cricketsby Jeff Mucha |
|
|
This page describes a method of raising the standard house cricket available at any pet store. I took pictures of just about every step in the cricket raising process. I have found several resources on how to raise crickets and I have had mixed results from what I gathered. The most important facts that I have learned from experience are: A. Crickets need warmth. If you are having problems raising crickets to feed your amphibians or reptiles, or if you are just interested in starting from scratch, give this method a try! |
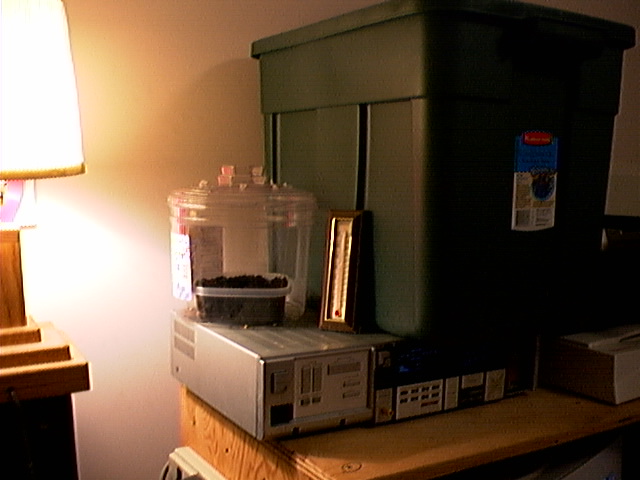
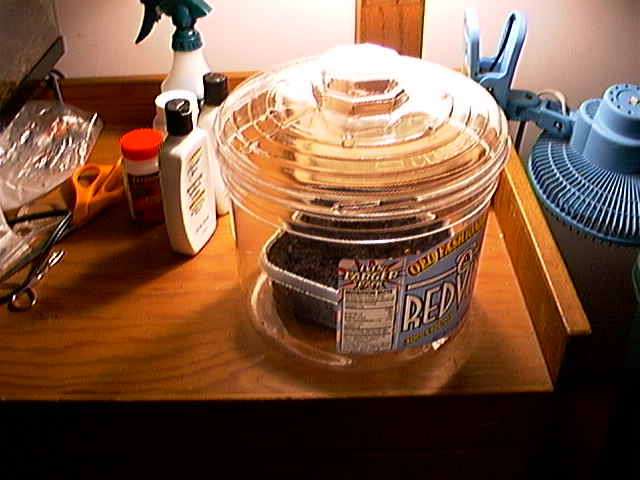
My setup for raising crickets:Here are some pictures of my setup for raising crickets. The basic elements to this setup are, the Tupperware container, the water feeder, the egg carton, and the breeding dish. |
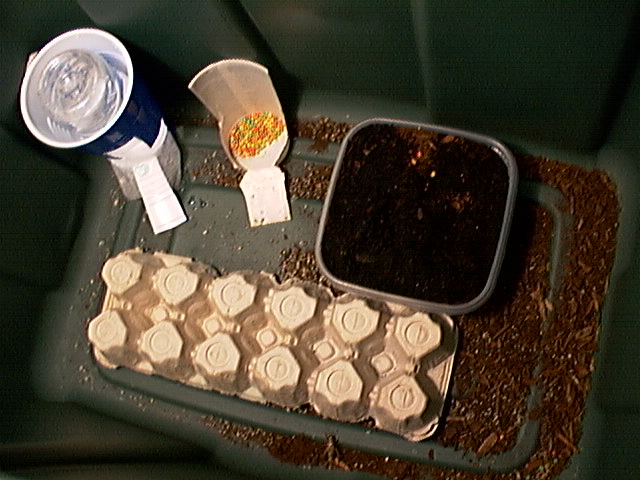
(84K) 640 x 480 |
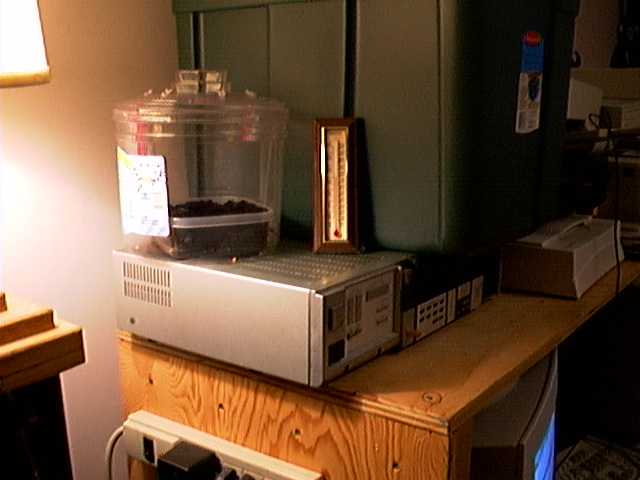
(87K) 640 x 480 |
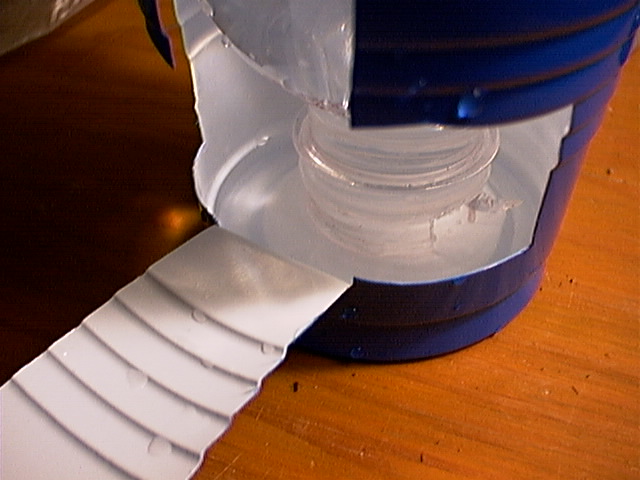
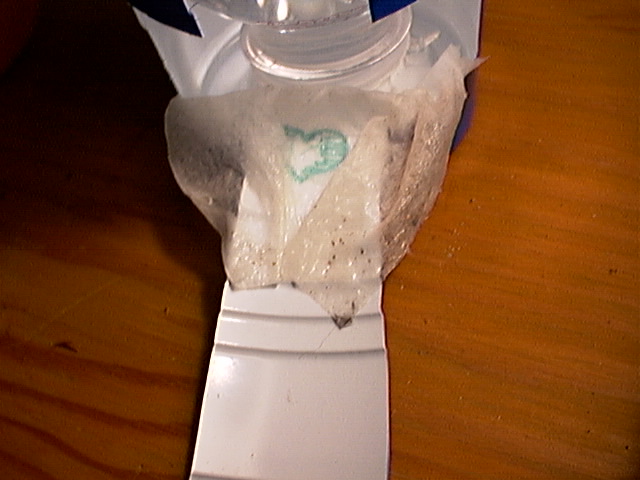
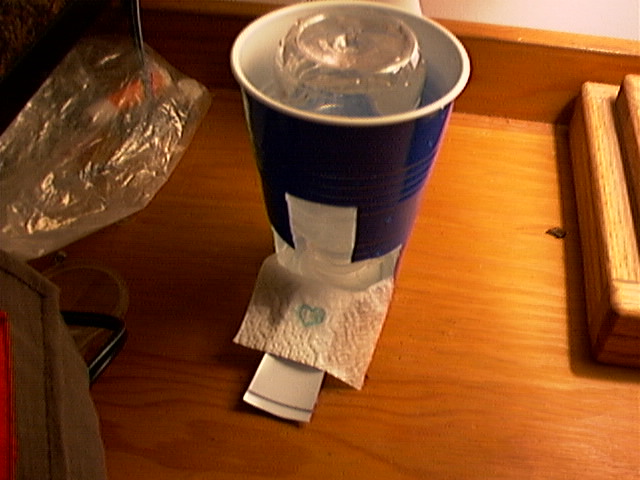
Building the water feeder:
Bend out the flaps created. This provides a ramp for the Crickets to get to the water. Cut a notch in the bottled water container about ¼ inch deep like in the picture. Fill the water bottle with water and put the cup on it. Turn the whole think upside down and the water will fill the bottom of the cup to a shallow level. Take some cotton balls or roll up a paper towel and press it into the bottom of the cup. There shouldn't be a pool of water accessable to the babies. The towel will get moist and the crickets will be able to suck on the paper or cotton like wet washcloth. Take a piece of Duct Tape and place it on the side of the
cup, this will keep the cup from falling over and creating a
cricket flash flood. |
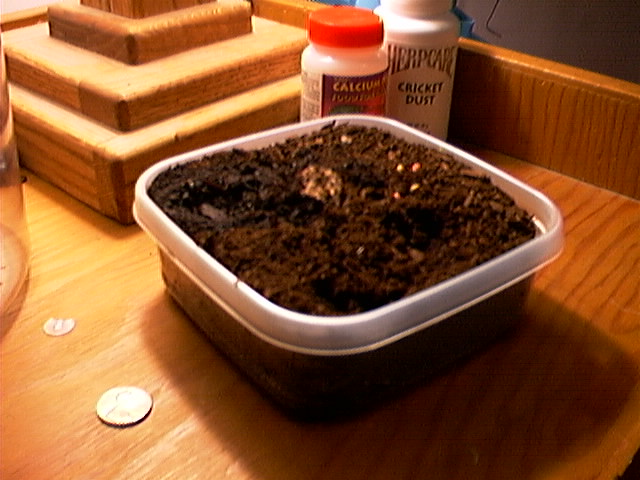
Setting up the breeding dish:Take one of the Zip Lock plastic Tupperware containers and fill it up with dirt. I went into the back yard and scooped up some bark dust. I have had problems using some potting soils. Some of them have anti-insect chemicals in them. I would reccomend using some form of Turf Substrate that you can get at pet stores. It usually comes compressed into about the size of a brick, you add water and it expands into dirtlike brown stuff. The good thing about this is that it is designed with your pets in mind and will produce consistant results. It says on it that the pet can eat it without harm, which is good! Fill the container with water until you can see that half of the dirt is saturated. You will see the water line on the side, it will be about ½ inch deep.
|
(86K) 640 x 480 |
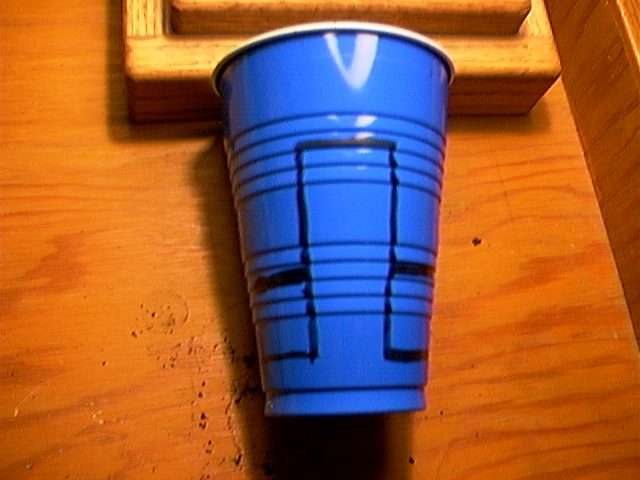
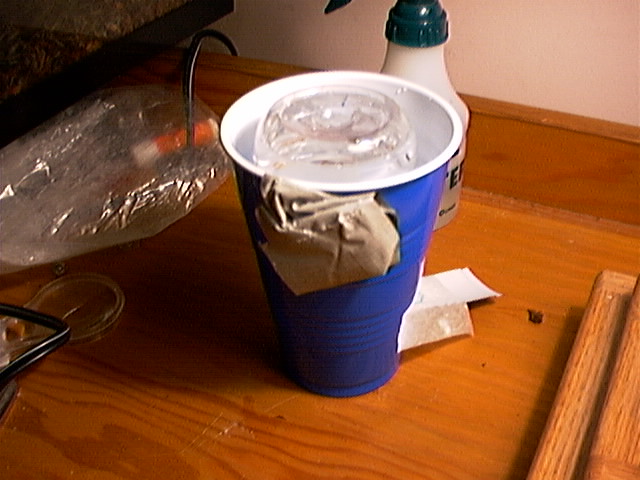
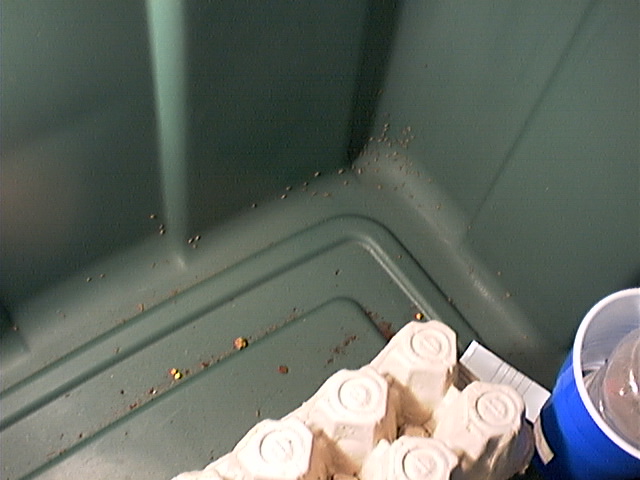
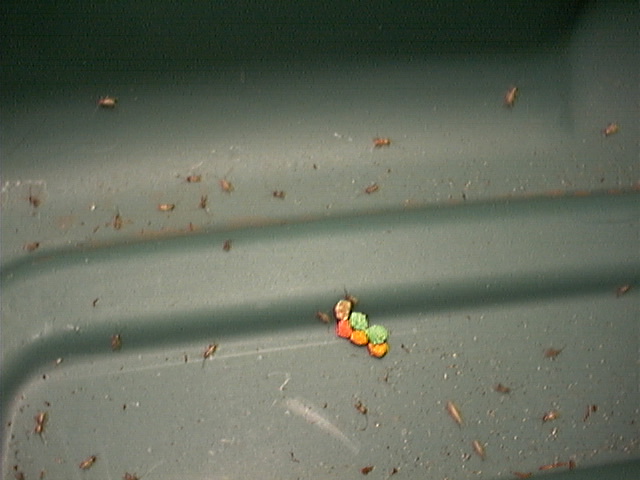
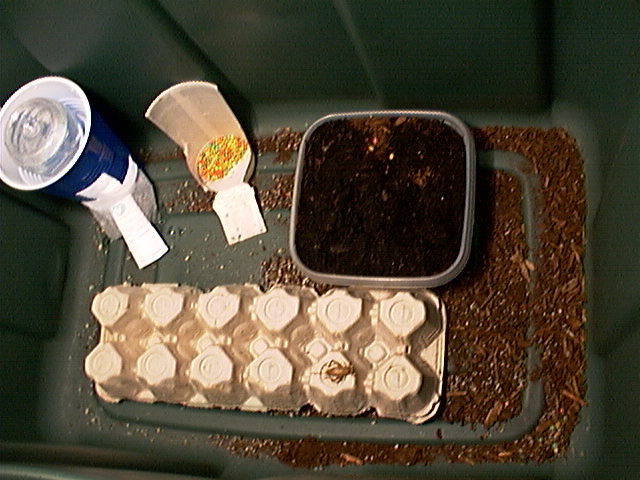
Setting up the Environment:Put the breeding dish in the Tupperware container. Take the bottom off of one of an egg carton and place it in the Rubbermaid container upside down. Place it near the breeding dish so they can crawl up onto it to lay their eggs. Take another party cup and cut it really shallow for the food.
Any kind of little dish can be used, the picture shows a dixi
cup. All that matters is that some kind of small cricket could
find its way in and then out again so use your own judgment.
Place the cricket food in the dish of choice and place it in the big Tupperware container like shown. Put the water feeder in like shown. Your habitat is now complete! |
(85K) 640 x 480 |
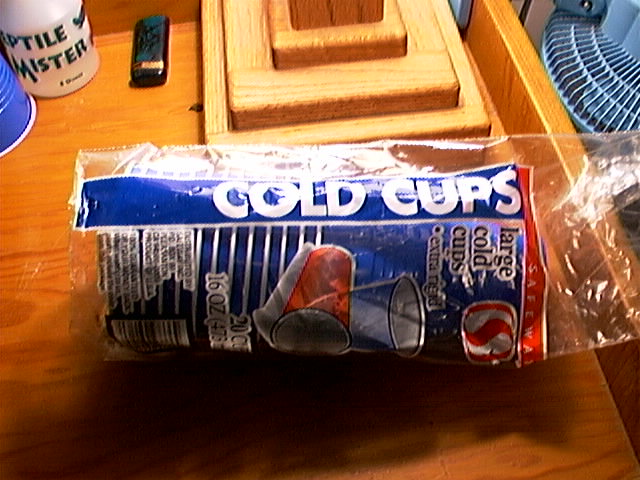
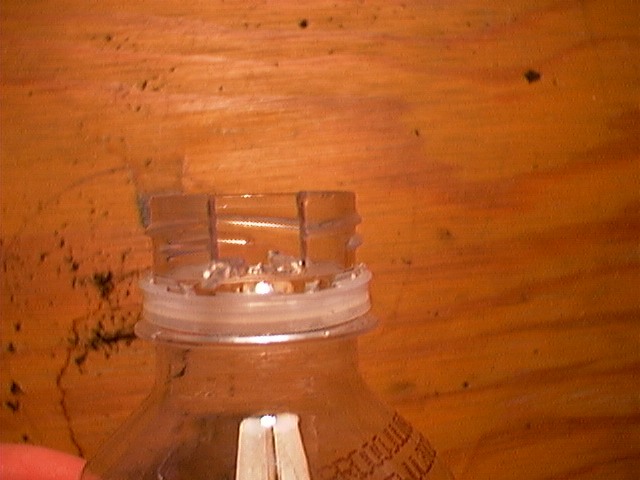
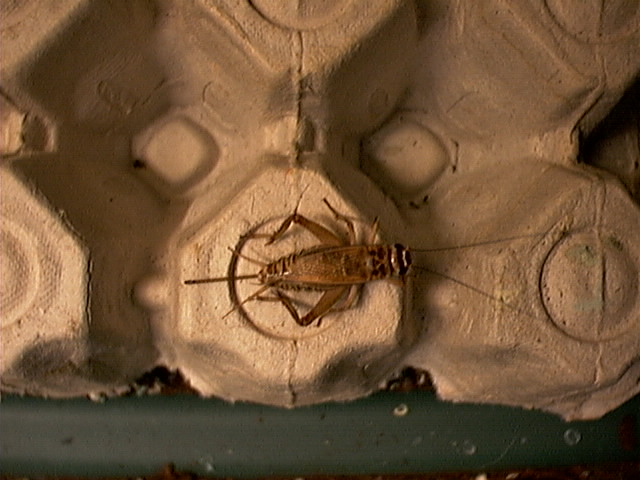
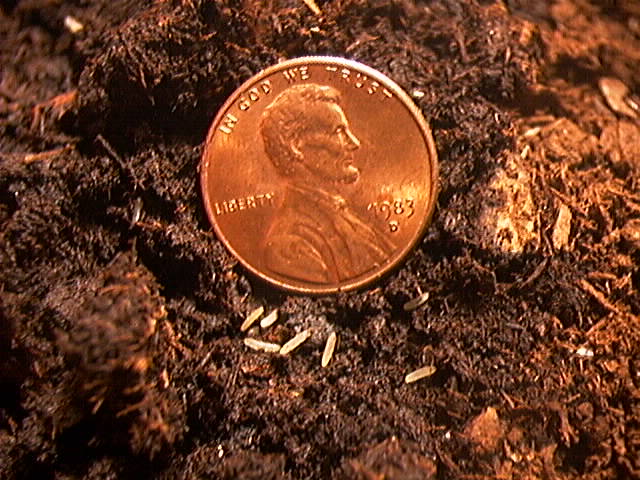
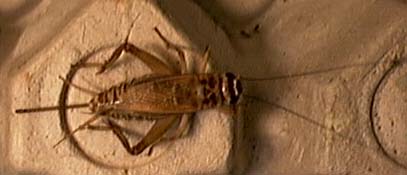
To complete your setup for raising crickets:Put the bag of 30 or so Crickets from the pet store in the
habitat. As soon as the females stems are as long as the one
in the picture at the top of this page, they are ready to lay
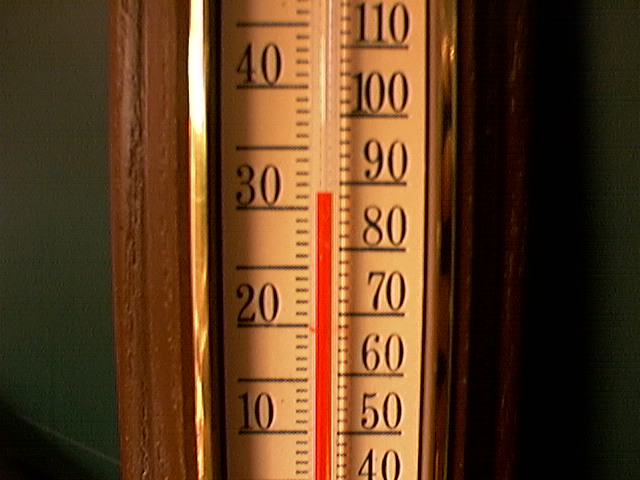
eggs. Put the container on a heating pad set on low, or that old
piece of home entertainment equipment that gets warm. You are now set, wait for a while and put up with a lot of
chirping. If you have a thermometer, try to keep the habitat
around 85 degrees, don't go over 95 or under 70 if you want the
crickets to live. Once the crickets start chirping and the females have long stems coming out of their abdomens, chances are they have fertilized eggs ready to lay. |
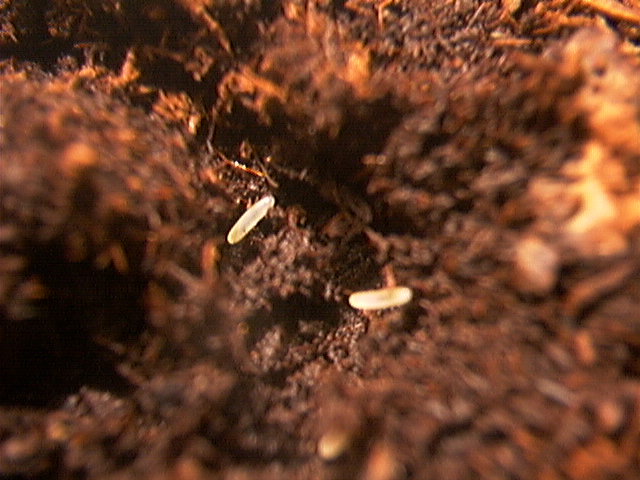
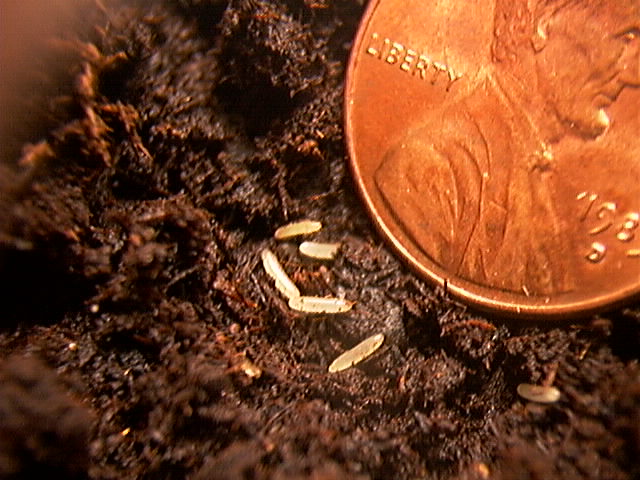
Eggs will be laid:
After you are sure that the crickets have laid some eggs,
remove the breeding dish from the main container, put it into
something that has slick walls so that baby crickets can't climb
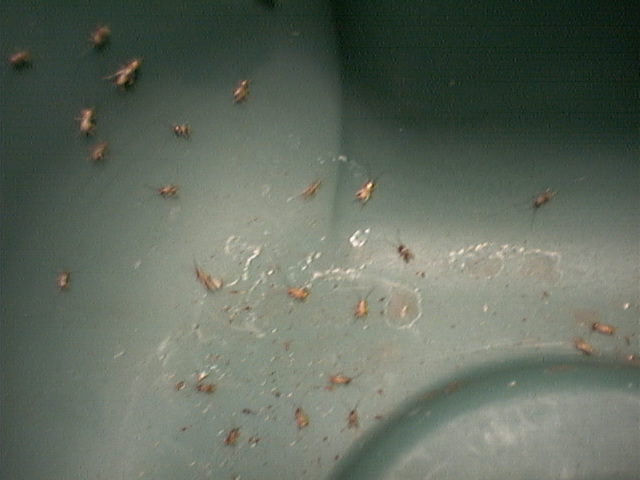
out. They can climb, but not very well Babies will hatch!!
At some point you will want to put the crickets into the big tub so that they can grow If you don't have any more adults to feed to your pet, the babies can be hatched in the main tub, you want to avoid having adults and babies in the same container. Before you know it you will have hundreds of babies running around. This concludes my Breeding Crickets Page. With any luck you should be able to achieve the same results that I did and breed plenty of crickets for what ever reason you have to breed crickets.
Last modified 11/28/07Counter Reset 11/28/07 |
©2000 Jeff Mucha. All Rights Reserved.